I did this on a Devuan system, which is basically Ubuntu without systemd. This not a well-known distro, so your mileage may vary, but I think it will all work as described on vanilla Ubuntu or similar Debian-based flavors. At the end of this article is a list of URLs I used while putting this all together, you can check into them for tips to get things working if you run into issues.
- Install the required packages:
sudo apt install git apache2-dev build-essential qrencode- Use git to pull down the latest code, then cd to changedir into the directory you just created:
git clone https://github.com/archiecobbs/mod-authn-otp.git
cd mod-authn-otp- The following three commands configure, compile and install the module components where they belong in the Linux filesystem:
./autogen.sh
./configure && make
sudo make install
- Install the newly-compiled module into Apache:
echo "LoadModule authn_otp_module /usr/lib/apache2/modules/mod_authn_otp.so" | sudo tee -a /etc/apache2/mods-available/authn_otp.load- Generate a 10-digit hexadecimal key. If you have more than one username, you'll do this and the next step for each username:
KEY=$( head -c 1024 /dev/urandom | openssl sha1 | awk '{ print $2 }' | head -c 10 )- Now write this key to /etc/users.oath.
echo "HOTP/T30/6 username - ${KEY}" | sudo tee -a /etc/apache2/users.otp(Replace username with the actual username you'll be using to login. For example: echo "HOTP/T30/6 admin - ${KEY}" | sudo tee -a /etc/apache2/users.otp
- Because you used sudo to create the file, it's correctly already owned by root, but Apache needs access because it will update this file each time you log in. So give ownership to the www-data group that Apache uses:
sudo chown root:www-data /etc/apache2/users.otp- Then use chmod to protect the file even further:
sudo chmod 644 /etc/apache2/users.otp- Now you're ready to tell Apache to start using this new module you've created. In your Virtual Host configuration, add "AuthBasicProvider OTP"
<Directory "/protected/stuff">
    AuthType basic
    AuthName "My Protected Area"
    AuthBasicProvider OTP
    Require valid-user
    # other options...
</Directory>
There are a number of other configuration directives you can use, see here for information on further changes you can make.
- Okay you're done with changes to Apache, restart the service to activate the changes:
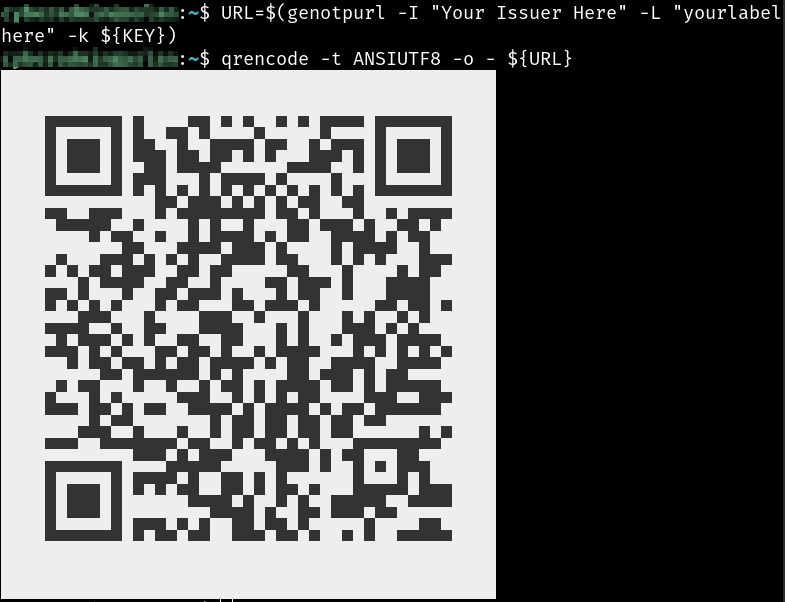
sudo service apache2 restart- To configure the one-time-password generator in your mobile device, first use the ${KEY} variable (which is still in memory) to create a ${URL} variable, which will then be used to generate the qrcode. This uses the new "genotpurl" tool which was installed when you ran "make install" previously:
URL=$(genotpurl -I "Your Issuer Here" -L "yourlabelhere" -k ${KEY})(Replace yourlabelhere with something like username@machine. Or just use the username . Also do the same with Issuer, which can be anything you want. "Issuer" is what appears as the main label inside your smartphone FreeOTP app.)
- Then generate the qrcode:
qrencode -t ANSIUTF8 -o - ${URL}Running this command will generate a BASE32-encoded qrcode of the HEX-encoded key, and the qrcode will cleverly appear inside your terminal, like this:
- Using the mobile device's camera, scan the qrcode with your app. For example, for the FreeOTP app, simply click on the qrcode icon in the upper right corner and point the camera at your screen.

That's it! It should be ready for you to log in now.
If you run into any issues, the following links all helped me figure this out. I recommend you look here for tips if it's not immediately working as described:
- https://github.com/archiecobbs/mod-authn-otp
- https://www.sidorenko.io/post/2012/01/using-one-time-password-with-apache/
- https://github.com/archiecobbs/mod-authn-otp/blob/master/INSTALL
- https://github.com/archiecobbs/mod-authn-otp/wiki/GenOTPURL
- https://github.com/archiecobbs/mod-authn-otp/wiki/OTPTool
- https://srkykzm.com/2015/01/apache-otp-auth/
- https://pierrejean.wp.imt.fr/2016/01/14/authentification-one-time-password/